Xeriscaping in Salt Lake, Utah on a Budget
(A Simple, Low-Cost Approach)
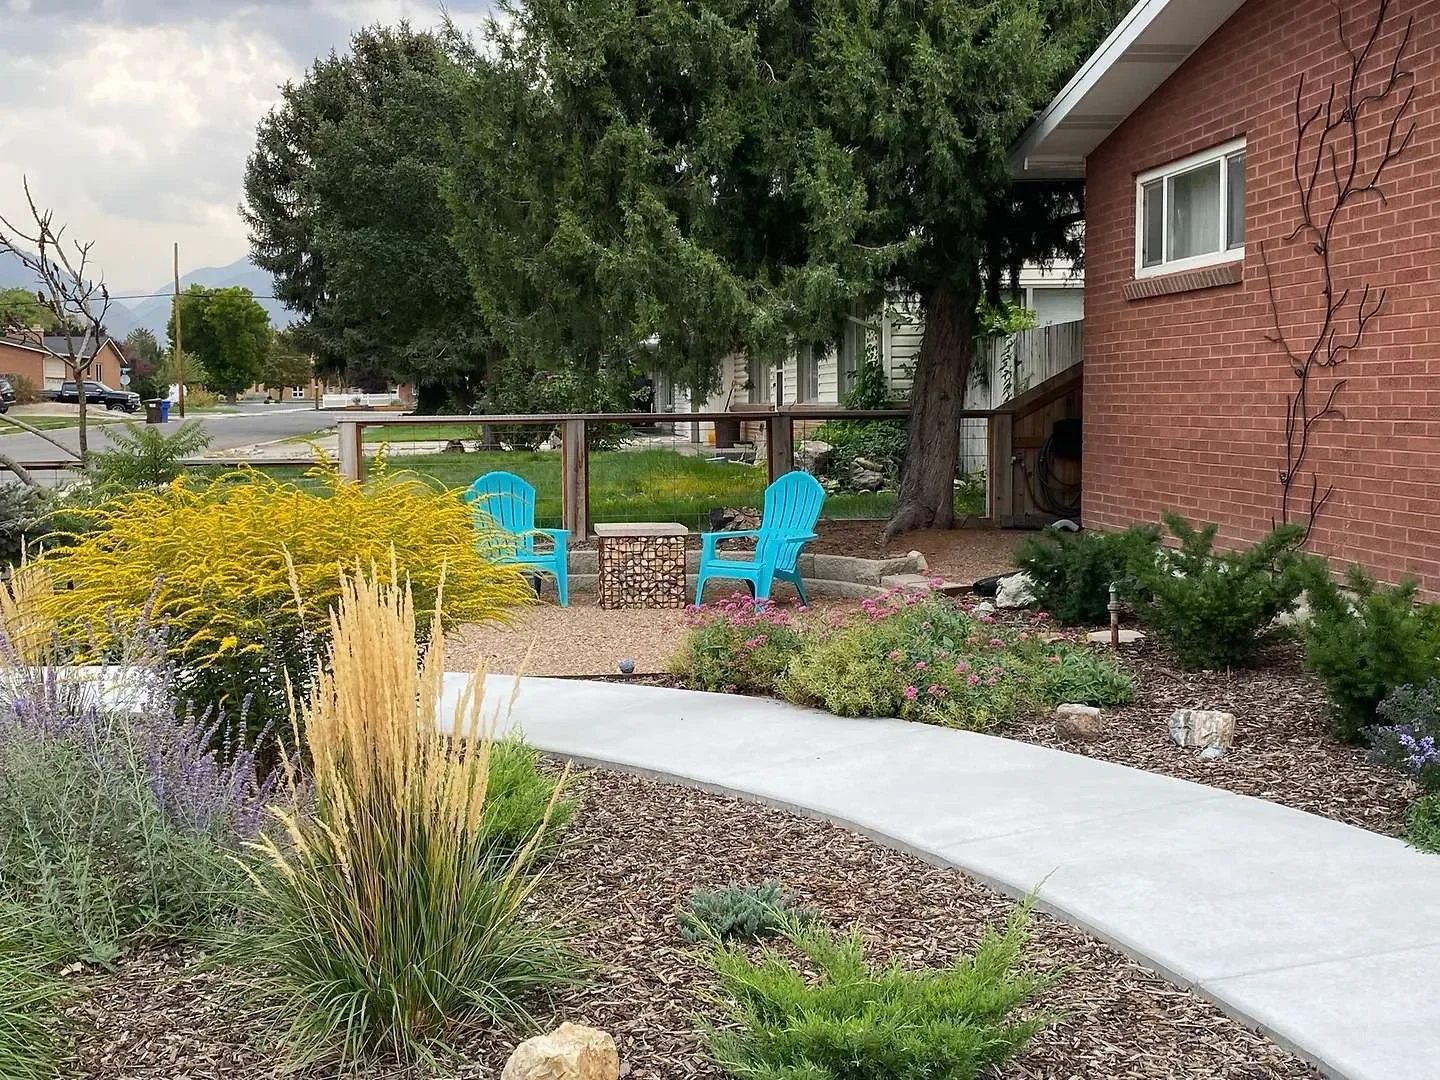
A strategic, low-cost approach to a yard that thrives in Utah’s high-desert climate.
In the Rocky Mountain region, temperatures are rising and water is becoming increasingly scarce. The obvious solution for Utah homeowners is to replace water-thirsty grass with drought-resistant plants, a process known as xeriscaping. It’s nice to keep a small lawn to relax and play in, but you should definitely consider replacing unused areas like curb strips and front lawns.
We recommend xeriscaping with plants that are drought tolerant and native to Utah. These require little maintenance and almost no additional water after the first 2 summers. (It’s even better if the plants were farmed locally so they’re acclimatized.)
Here are the steps to convert your lawn to a resilient xeriscaped garden:
1. Spray the Lawn
Spray the weeds and grass in the lawn with weedkiller. This step is especially important for tough weeds like morning glory.
2. Cover the Lawn
5-7 days later, lay down cardboard over the whole lawn and wet it with water. This will help suppress new weed growth.
Alternatively, you can use a sod cutter to remove all of the grass. If you’re short on time, you can just remove the grass where you’re going to plant.
Tip: You can get free cardboard from Facebook Marketplace, warehouse stores like Costco, landfills, or recycling centers. Just make sure the cardboard doesn’t have tape, staples, or a glossy coating.
Note: Weed barrier or fabric is not great for plant health and can even make weeds more difficult to remove by intertwining roots into the fabric. Weed barriers release lots of microplastics into the soil, too.
2. Plant
Cut an “X” in the cardboard, dig a hole, install your plant, and pull the cardboard flaps back to the base of the plant. Repeat for each plant, leaving enough space for each to grow to maturity. It looks more natural and professional to group plants in small clusters of 3 or more instead of in rows.
Tip: Plant the most sun-loving plants away from the shade and vice versa.
Note: Most native Utah plants don’t need potting soil or fertilizer, so that simplifies this step quite a bit!
3. Mulch
Spread a 3 or 4-inch layer of wood mulch over the area. Mulch is the best material because it holds water, enriches the soil, and prevents weeds at the same time. Keep the mulch a couple of inches away from the stems/trunks of the new plants to help prevent rot.
Tip: You can often receive free mulch from your local municipality or from an arborist.
Note: If you live in a very windy location, gravel is a better because it won’t fly away. Gravel is also better around desert-style plants like cacti and agave.
4. Water
Water deeply once a week during the first summer. The second summer, you can water every 2 or 3 weeks. By the third summer, you should only need to water plants that are curling or wilting in the heat. After that, you shouldn’t need to water at all.
Note: You have multiple options for watering, including:
Use your existing sprinklers till the plants are established and then turn them off (minimal effort).
Turn off the sprinklers and slow-drip water from a hose (saves water).
Convert your sprinklers to drip sprinklers with a DIY kit (maximum effort).
Your yard will look sparse at first, but within a few years, the plants will spread and grow into a beautiful, naturally-looking landscape that requires little time and attention. As the plants spread out and grow deeper roots, they’ll help prevent most new weeds from popping up.
For recommendations on plant selection, click here.